How does the bitcoin source code define its 21 million cap?
Many of bitcoin’s staunchest critics have expressed doubt about its 21 million cap, but perhaps the most mindless criticism relates…
,
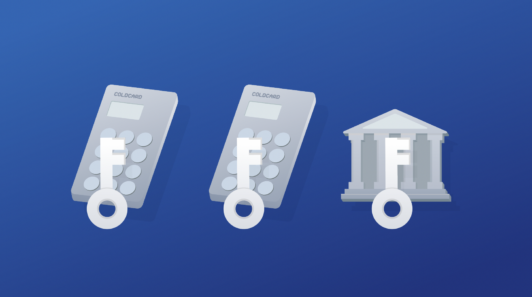
Coldcard is a premium hardware wallet for sophisticated users, and if that’s you, then you probably understand why you would want to use multisig to secure your bitcoin and eliminate single points of failure.
Our platform is built to take full advantage of the Coldcard’s multisig features, and we’re pleased to support Coldcard’s air-gapped functionality. In addition to our general guide for setting up an Unchained account yourself, we’ve put together this article to walk you through the nuances of adding your keys, creating your multisig vault, and signing transactions specifically on the Coldcard.
Before we get started, note that our Concierge team is available through the Concierge Onboarding package to walk you through every step of this process. With our white-glove Concierge Onboarding service you get an onboarding call with a vault specialist, training on how to use our open-source external recovery tools, exclusive access to continuing education webinars, ongoing support, and 90 days of access to our Concierge Client service. With Concierge Client, you can get expert help well beyond the initial setup.
Unchained Capital supports Coldcard models Mk2, Mk3 and Mk4. In addition to the device themselves, some additional accessories are required.
If you’re using a Coldcard Mk2 or Mk3, you need the accessories to support moving data between your personal computer and the Coldcard using a MicroSD card. These devices cannot directly interface with your computer via USB.
The latest Mk4 model of the Coldcard supports both air-gapped functionality and direct connection via USB-C:
The first step is creating an Unchained Capital account. Log in at my.unchained.com and fill out the required onboarding information depending on which products you want to use. Tier 2 gives individuals and businesses the ability to use vaults. Tier 3 is required for bitcoin OTC purchases and for USD loans.
The first step is exporting the xpub from the Coldcard. If you’re using the Mk2 or Mk3 air-gapped, you’ll need to export this file to your MicroSD card.
See the full key creation flow below. Click any image to enlarge.
You can either create a second Coldcard key by performing the above steps with a second initialized Coldcard, or upload a second key by using a Trezor or Ledger and following the onscreen instructions.
Once you have 2 keys uploaded, you can build a vault by selecting “create a new vault” from your dashboard or by selecting New Vault from the menu on the side.
After you build your vault, select “Configure Coldcard” from the Coldcard Users screen or navigate to the menu in the completed Vault’s transact window and download the Coldcard configuration file. This file will teach your Coldcard about the vault and different keys used to secure it.
You have signed the transaction with one key. You can now proceed to request Unchained co-sign a transaction, or sign it with a second key and broadcast it.
tip: For Coldcard hygiene:
- Keep your SD card clean. We recommend you delete all files after each transaction.
- If you’re replacing an existing key with a Coldcard, do a key check with any remaining keys first.
- Delete any PSBTs that are saved in a downloads folder, or set your browser to prompt you where to download files so that you can skip sending the file from your downloads folder to the MicroSD card / Coldcard.
- Keep your firmware updated. Unchained Capital will always officially support the two most recent firmware versions.
Many of bitcoin’s staunchest critics have expressed doubt about its 21 million cap, but perhaps the most mindless criticism relates…
Ted Stevenot, Stephen HallWhen Satoshi Nakamoto created bitcoin, he established in its code a fixed number of bitcoin that will ever exist. Since…
Ted StevenotOriginally published in Parker’s dedicated Gradually, Then Suddenly publication. Bitcoin is often described as a hedge, or more specifically, a…
Parker Lewis